Ask the Right Questions Before Rushing Into Repairs
Cold winter weather can cause ice dams and leaks in your roof. If you have a winter roofing emergency, follow these three essential steps to avoid unnecessary costs and insufficient repairs.
1. Determine the Severity of the Damage
First and foremost, determine how much damage has occurred. If it’s raining in your kitchen, there is obviously little time to spare. Find a local roofing contractor that offers emergency roofing services and have their phone number on hand. Use a bucket or container to catch water and cover furniture and other valuables with plastic. Skip to step three if necessary, but not without proper documentation. Take pictures of everything to document for insurance.
More often than not, winter damage is not always as obvious as a downpour in your living room. Instead, you’re more likely to see a water stain.
Cold-weather roof emergencies require long-term solutions with careful planning and close inspection. Even expertly installed roofs are not immune to the freezing temperatures, high winds and heavy snow of winter. Learn the three most common types of winter damage before you move on to Step 2.
- Ice Dams
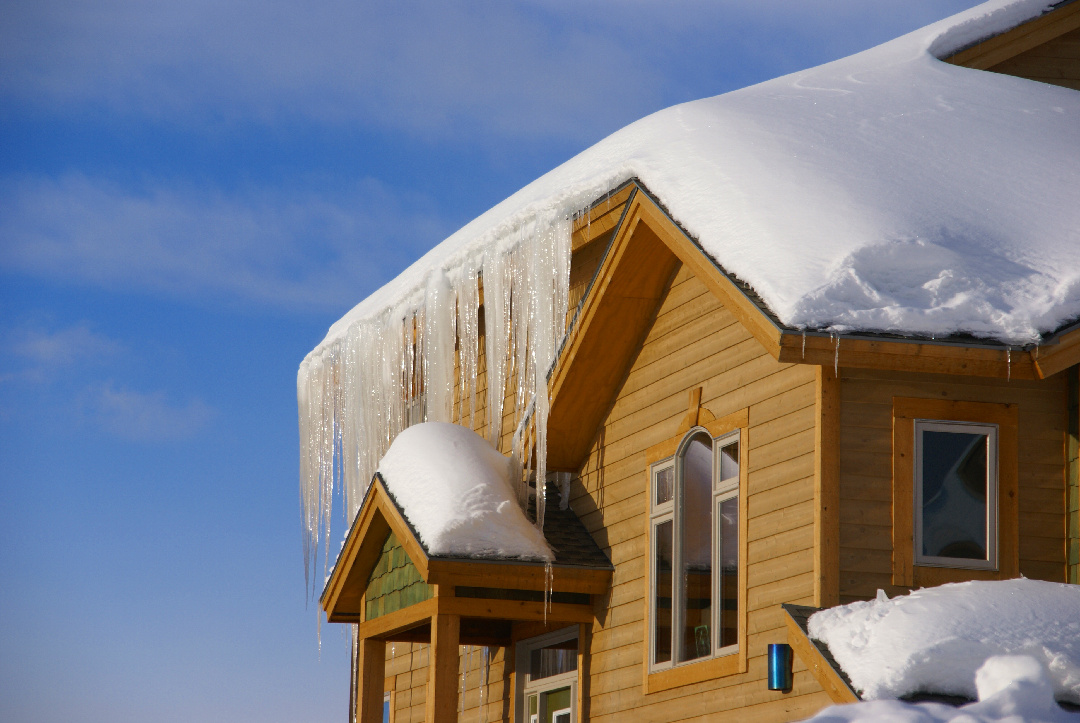
– When water enters a small hole in the roof or penetrates under the shingles, it can freeze and expand, leaving larger holes or gaps. Water backs up under the shingles, weighing down the roof and gutters and causing water to leak into the house.
- Condensation
– When a building has inadequate air flow, condensation can form in the attic and on the underside of the roof creating mold, mildew and leaks, causing a general weakening of the structure.
- Clogged Gutters or Drains
– Clogs prevent water from flowing away from the house and cause buildup or pooling on the roof, exacerbating other weak or poorly insulated portions of the roof. This can also lead to leaks in the basement or foundation wall movement as water collects next to the house and then freezes and expands.
2. Review your Insurance Policy
The second step is to review the fine print on your insurance policy before filing a roofing insurance claim. This step is crucial before moving forward with repairs because many insurance policies have specific roof coverage exclusions or requirements.
For example, most insurance companies will not cover damages or leaks that are ultimately the result of installation errors or aging roofs. Even if snow or ice caused the harm, repair may not be covered under your home policy if your roof is older than 10 years – just one more reason to work closely with a contractor to keep your roof in tip-top shape.
Be sure to read through your policy carefully and know the answers to the following questions:
1. What is my deductible?
2. Does my insurance cover roof replacements or just repairs?
3. Does my policy exclude certain roofing materials?
4. Does my policy take the age of the roof into account?
5. Is water damage covered under the roof policy or a separate policy, like flooding?
After verifying policy requirements, work with your contractor and insurance provider to determine the next steps.
3. Have a Reputable Roofer Examine your Roof
Step three is to have a trusted roofing professional determine the extent of the damage. A quality roofing professional will be able to identify the exact source of the damage, including the cause, such as ice dams or condensation. This information is vital before moving forward with your insurance claim as it proves that damage is a result of an insured risk.
Additionally, experienced roofers should be able to help you navigate the insurance claim process and offer advice for your specific circumstance. As they determine the best solution for your roof, ask them for a full cost breakdown for their services. Get everything in writing, including permits, bonding and warranty.
If you don’t already have a “roof guy” that you trust, it’s time to do a little extra research. Seek out at least two roofing quotes from verified professionals in your area. Beware of contractors that offer a full roof replacement or hefty repairs with little explanation of the state of your roof or source of leaks.
Winter Roof Damage Prevention Tips
The best way to keep your roof safe in the winter is damage prevention. You may be able to stop winter roof emergencies with these tips:
– Get a roofing inspection after the leaves fall in autumn but before the first snow in winter. This is the ideal time to catch weak spots and stop leaks in their tracks before further damage occurs.
– Ask your roofing contractor to go over a winter roof checklist with you to determine any additional steps to further protect your home.
– Keep photos of your roof and warranty material on hand. You can even submit files to your homeowners insurance and ask them to keep a record of everything on file.
– Buy a roof rake. If you’re worried about ice dams, you can use a roof rake to remove snow from your roof before an ice dam can form. Be forewarned: If used improperly, roof rakes can cause damage to your shingles, your landscaping and even personal injury, so only use them as a last resort.
Enterprise Roofing is the Dayton-areas trusted and reliable partner for roofing emergencies. If you are currently experiencing a roofing emergency, give us a call at 937-240-2206.

Essential Roofing Considerations for Springboro, Ohio Homeowners
The Cost of Neglect: Why Year-Round Roof Maintenance Saves Money
Understanding & Preventing Ice Dams to Protect Your Home
Storm Chasers & Insurance Trends: What Homeowners Need to Know
